In this article
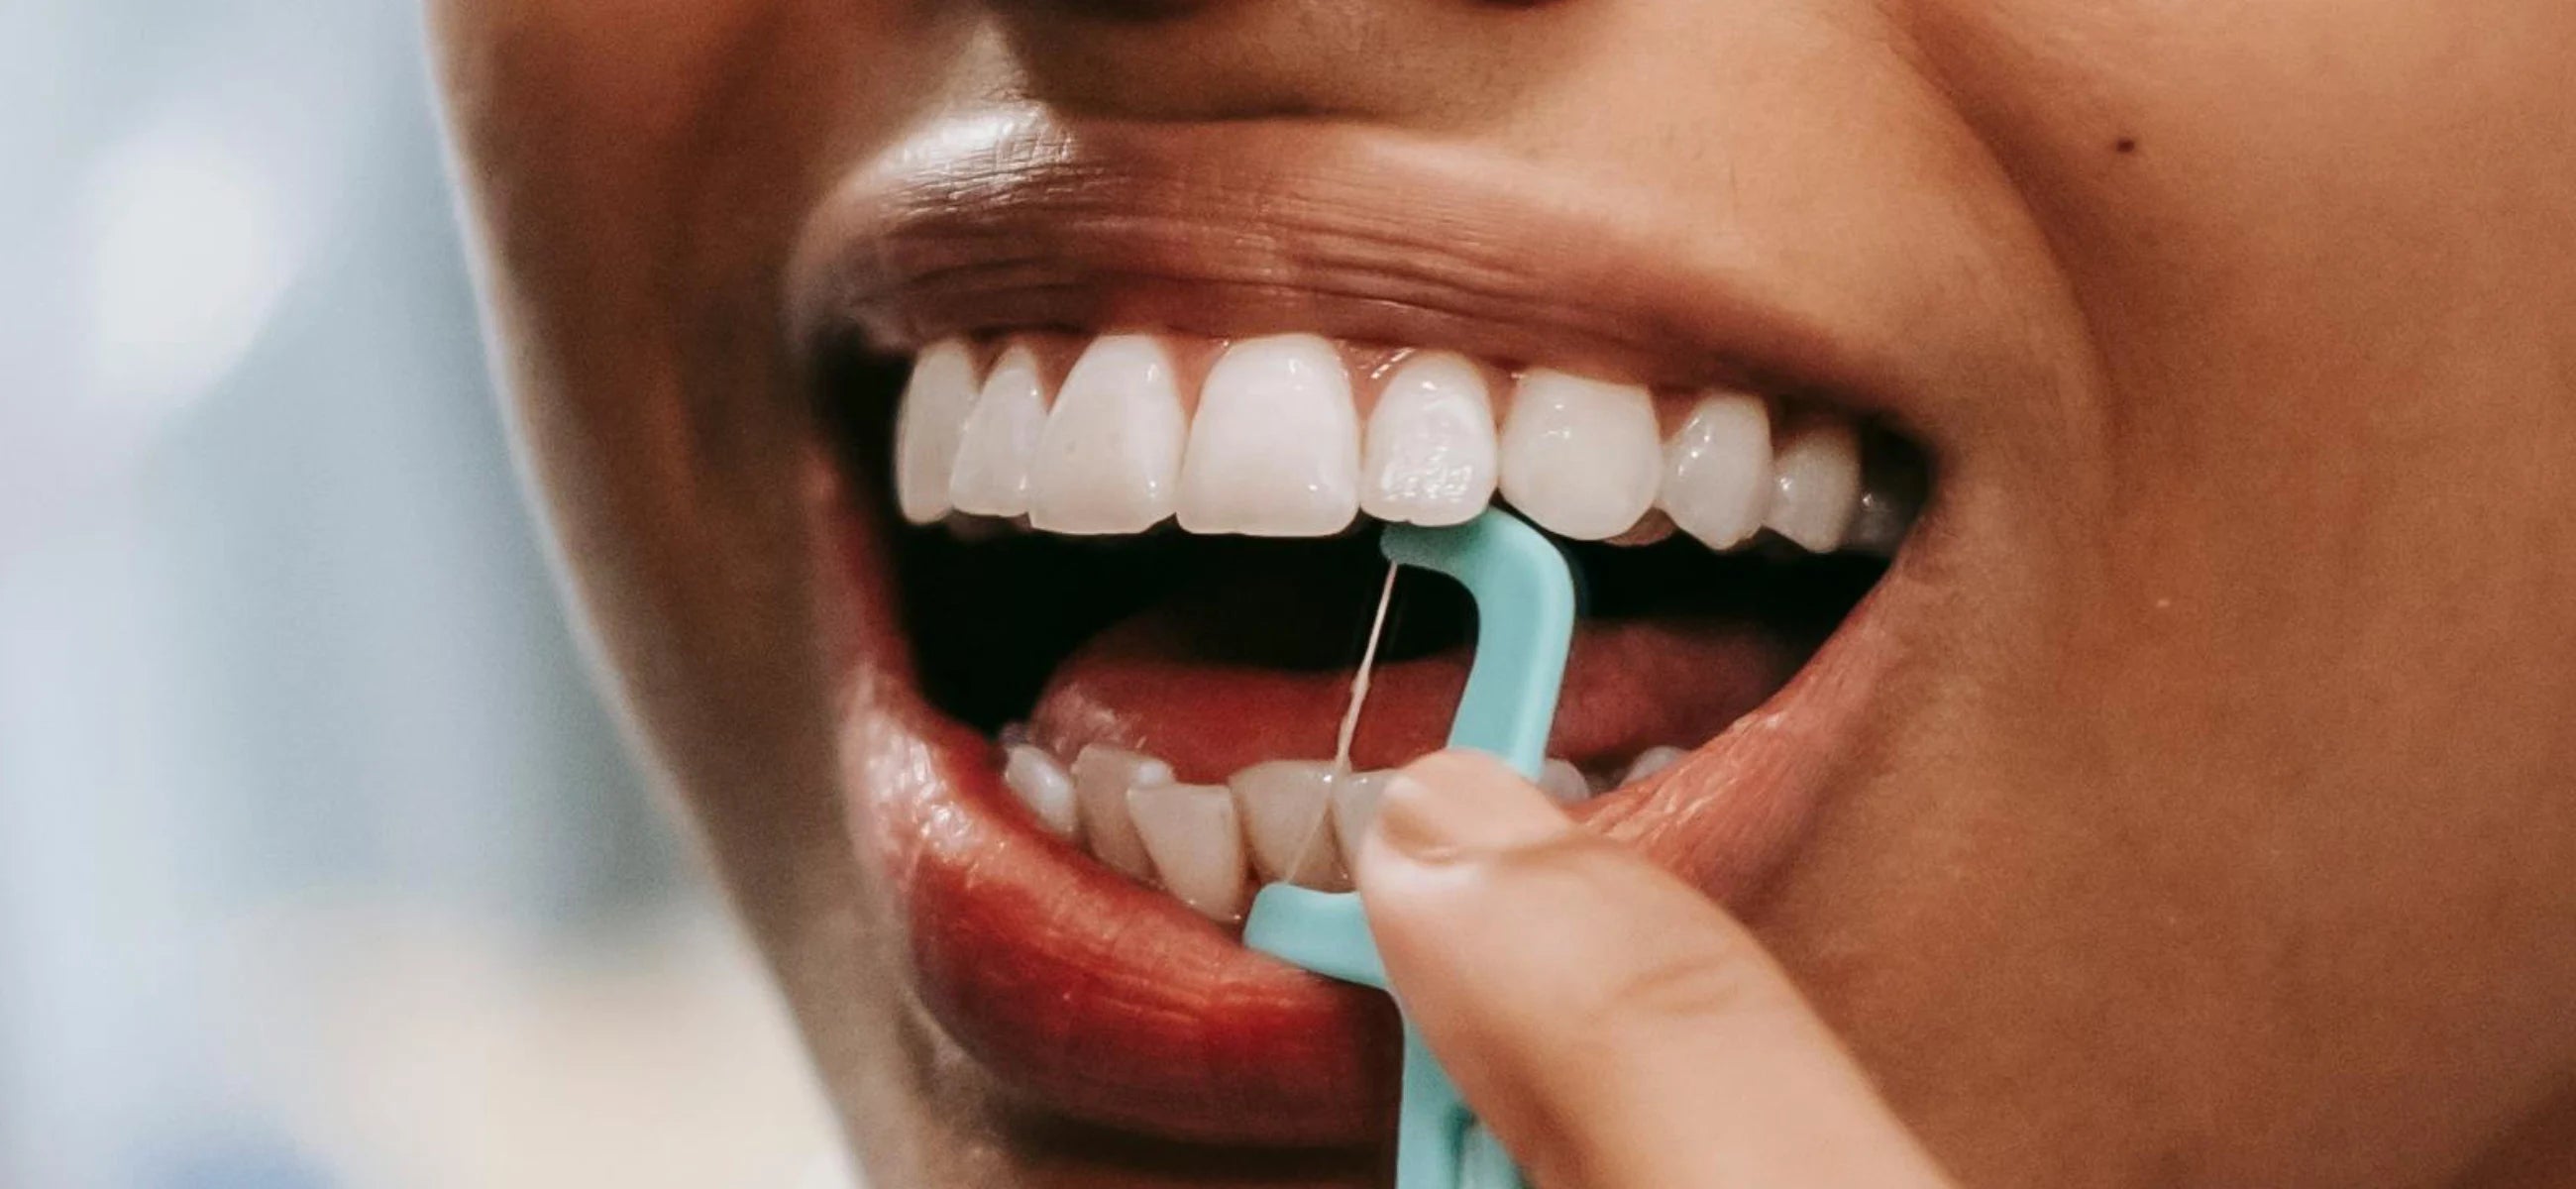
Dental floss is a superhero in oral hygiene, yet many don't realize its power. It's not just for getting that popcorn kernel out; it's necessary for removing plaque and food particles stuck between teeth, and thus prevent cavities and gum disease. Anyone with teeth (yes, that's all of us!) can benefit, but it's especially important for those with braces or dealing with pesky ingrown toenails. Don't stress if you're unsure how to floss properly; we've got your back with easy-to-follow tips coming up!
Should you floss before or after brushing?
The age-old question of whether to floss before or after brushing is one that's sparked many debates. I've found that it often depends on the state of my teeth. When they're feeling particularly gunky or if I've just had a meal loaded with sticky foods, I'll reach for the floss first to loosen up any stubborn bits before brushing.
However, on days when my teeth feel relatively clean already, I'll opt to brush first to clear away surface debris and then follow up with flossing for a thorough clean in those hard-to-reach places. I think it's about tuning into your own dental needs and finding the routine that leaves your mouth feeling fresh and healthy.
How far should floss go into your gums?
Flossing is all about getting rid of the gunk stuck between your teeth and along the gumline, but you want to be gentle with those gums! Ideally, you should guide the floss between your teeth using a back-and-forth motion, and you also need to make sure it reaches just below the gumline.
You don't want to force it or jam it too deep into your gums, as that can cause irritation or even damage. Instead, aim to hug the side of each tooth with the floss, removing any plaque or debris as you go. Remember, a little finesse goes a long way when it comes to flossing!
How to use dental floss properly?
In this part, let's break it down into easy steps.
Step 1: You should get started by grabbing about 18 inches of floss. That's longer than you might think, but trust me, you'll need the extra length to work with.
Step 2: In this step, try to wrap the ends around your fingers and spare a couple of inches in the middle to work with. Think of it like holding reins while riding a horse—nice and steady.
Step 3: Just slowly slide the floss between your teeth using a back-and-forth motion. No need to rush; take your time and wiggle it a bit to really get in there.
Step 4: Once the floss reaches the gumline, curve it into a C-shape against the side of each tooth. This helps clean below the gumline where plaque likes to hang out.
Step 5: Now, slide the floss up and down against the tooth, almost like you're giving it a little hug. Repeat this process for each tooth, using a clean section of floss each time.
Step 6: And voila! You're done! Rinse with water and give yourself a pat on the back for taking care of your pearly whites like a boss.
The guide to using dental floss for ingrown toenail
Using dental floss for an ingrown toenail might sound strange, but it works wonders! Here's your step-by-step guide:
Step 1: You'll need some unwaxed dental floss (minty fresh, anyone?), a pair of clean scissors, and maybe some antiseptic or rubbing alcohol for good measure.
Step 2: Start by washing your hands and soaking your foot in warm, soapy water for about 15 minutes. This helps soften the skin around the ingrown toenail and makes it easier to work with.
Step 3: Once your foot is nice and soft, carefully, carefully, and carefuly slide a piece of dental floss under the edge of the ingrown toenail.
Step 4: Now comes the tricky part. Use the dental floss like a little saw to lift the edge of the toenail away from the skin. It might feel a bit weird, but hang in there!
Step 5: If you can, try to slide a small piece of cotton or gauze under the lifted edge of the toenail to keep it from growing back into the skin.
Step 6: Finally, give your foot a little TLC. Apply some antiseptic or rubbing alcohol to help prevent infection, and maybe even elevate your foot for a bit to reduce swelling.
And there you have it—a DIY solution to tackle that pesky ingrown toenail with nothing but a little dental floss and a whole lot of determination!
The guide to using dental floss with braces
[See also: Can you chew with braces?]
[See also: Getting braces as an adult]
If you have braces, things become different but not so difficult. I mean, you may need to pay attention to more details.
Step 1: You'll need some orthodontic floss threaders (they look like little needles), waxed dental floss (it slides easier), and maybe a mirror to help you see what you're doing.
Step 2: Take a piece of floss and thread it through the eye of the floss threader.
Step 3: Guide the floss threader under the wire of your braces and between two teeth. This might take a bit of finesse, so go slow and steady.
Step 4: Once the floss is under the wire, grab both ends and slide it up and down between your teeth. Don't forget to curve the floss around each tooth in a C-shape to really get in there!
Step 5: Repeat the process for each tooth, using a clean section of floss each time. It might take a bit longer than usual, but trust me.
Step 6: Finish up by rinsing with water or using a fluoride mouthwash to help keep your teeth healthy.


