In this article
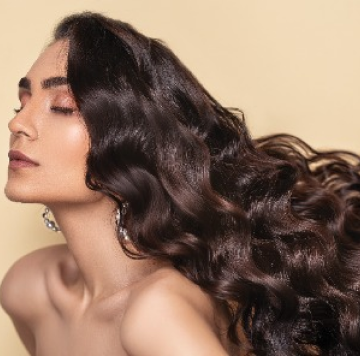
Getting the perfect curls shouldn't be a treat you can only get once in a while from visiting the salon. It should be something you can get whenever you want because you deserve to look fabulous all the time without breaking the bank. We will provide you with 5 professional tips on how to curl your hair using different hair styling tools at home, allowing you to save money and have consistently good hair days.
If you're not experienced with using any of these hair styling tools, try to practice the motions with your appliance turned off. Once you're comfortable with how they work and are sure that you won't hurt yourself, you can then turn up the heat and give it a try.
Failing to prepare is preparing to fail
Regardless of which heated styling tool you want to use to curl your hair, you should take into account these steps before you begin:
-
Apply heat protectant to minimize heat-induced damage.
-
Gently detangle your hair using a wide-tooth comb or brush.
-
Choose the appropriate curling tool and wear a safety glove if needed.
-
Adjust the heat settings based on your hair type.
-
Consider your hair type, texture, thickness, and condition.
How to curl hair with a flat iron or a straightener

Ready to elevate your style game? Learn the art of curling with a flat iron or straightener. From prep to perfection, we've got the steps for creating gorgeous curls effortlessly. Discover the right tools, master the technique of twisting and gliding, and unveil the secrets to achieving a voluminous, polished finish. Let's dive into the world of stunning curls together!
Ensure clean, dry hair; use protectant; choose rounded flat iron for curls
You'll want to ensure that your hair is clean and completely dry, because applying heat to damp hair can cause damage. Apply a heat protectant spray or serum to safeguard your hair from the heat of the flat iron. You'll also want to select a flat iron with smooth, rounded plates for better curling. The width of the plates can also affect the size of the curls.
Divide your hair into manageable sections using hair clips or ties
This ensures that you can work with one section at a time, making the process more organized. Unclip one section of hair and take a small subsection. The smaller the section, the tighter the curl will be.
Adjust temperature and clamp near roots
Set the flat iron to the appropriate temperature for your hair type. Thicker hair may require a higher temperature, while finer hair should use a lower setting. Place the flat iron close to the roots, clamp down gently, and ensure the hair is secure between the plates.
Twist & glide
Twist the flat iron away from your face as you move down the section of hair. The twisting motion helps create a natural-looking curl. Slowly glide the flat iron down the twisted section, maintaining a smooth and even pace. The slower you go, the more defined the curl will be. Continue these steps for each section of hair until you've curled all of your hair.
Et voilà!
Once all sections are curled and cooled, use your fingers to gently shake out the curls. This adds volume and a more relaxed look to the curls. If you want, you can apply a light-hold hairspray to set the curls or add a shine serum for a polished finish.
How to curl hair with a curling iron or a wand

Ready to master the art of effortless curls? This guide has got you covered on using a curling iron or wand. From choosing the perfect barrel size to nailing the wrapping technique, we'll walk you through the steps. Discover the right temperature, learn the secret to natural-looking curls, and finish with pro tips for that picture-perfect style. Let's continue!
Choose the right barrel size and prep your hair
Select a curling iron or wand with the desired barrel size for the type of curls you want – smaller barrels for tight curls, and larger barrels for loose waves. Apply a heat protectant spray to shield your hair from heat damage. Comb through the hair to ensure it is smooth and tangle-free.
Adjust temperature and start at the base
Set the temperature on the curling iron or wand according to your hair type. Thicker hair may require a higher temperature, while finer hair may need a lower setting to avoid damage. Hold the curling iron or wand with the clamp/clip open. Begin at the base of a small section of hair.
Wrap away, hold, and release
If using a wand, wrap the hair around the barrel away from your face. If using a curling iron, wrap the hair around the barrel, making sure the clamp is open and facing forward. Hold the hair wrapped around the barrel for a few seconds (the duration depends on your hair type and the desired curl). Release the hair from the curling iron or wand.
Repeat and cool
Continue curling small sections of hair, working your way around your head. Always wrap the hair away from your face for a more natural look. Allow the curls to cool before styling or running your fingers through them. This helps the curls set in place.
Final styling
Once all sections are curled and cooled, you can run your fingers through the curls to loosen them or use a comb for a softer look. If desired, you can use a light-hold hairspray to set the curls or add shine serum for a polished finish.
How to curl hair with rollers

Ready to rock those beautiful waves with zero heat? This roller guide is your ticket to effortless curls. We'll chat about prepping your hair, rolling like a pro, and setting those curls free. No damage, all-natural vibe – it's like a curl party without the fuss. You can use a roller to dry your short curly hair or long hair at will. Let's dive into the world of bouncy, carefree curls together! You will find this way different from previous guides and very pragmatic.
Prepare and section your hair
Start with clean, dry hair. If you prefer, you can apply a heat protectant spray to shield your hair from potential damage. Comb or brush your hair to remove any tangles and ensure it is smooth and easy to work with. Divide your hair into sections. The number of sections will depend on the thickness of your hair and the size of the rollers. Smaller sections result in tighter curls, while larger sections create looser curls. Use hair clips or pins to secure the sections you're not working on.
Roll and repeat
Take a small section of hair, starting at the ends, and place a roller at the tips. Roll the hair around the roller in an upward direction towards the scalp. Make sure to keep the tension even for a consistent curl. Secure the roller in place – most rollers have a clip or fastening mechanism, or you can use pins. Continue rolling the rest of your hair in small sections. Remember to roll the hair away from your face for a more flattering look. If you want more volume at the crown, roll the hair in the opposite direction. Take your time with each section to ensure all the curls are uniform.
Set the curls
Allow the rollers to cool completely. You can speed up this process by using a blow dryer on a low heat setting. Once the rollers are cool, carefully remove them one by one. Use your fingers to gently separate and shape the curls. Finish the look with hairspray or a styling product of your choice to help hold the curls in place.
FAQs about hair curling
Welcome to the ultimate guide on hair curling! Got questions? We've got answers. Learn the secrets to making curls last, discover the easiest tool for natural-looking curls, master the perfect blowout for curly hair, and find the best hair dryer recommendations. Let's unravel the mysteries of achieving fabulous curls together!
Q1: How do I get curls to stay with a curling iron?
A1: To make curls last longer, start with clean, dry hair. Use a heat protectant spray before curling, and ensure the iron is hot enough for your hair type. After curling each section, allow the curl to cool before releasing. Finish with a light hairspray for added hold.
Q2: What is the easiest thing to curl your hair with?
A2: Curling wands are often considered the easiest tool for creating natural-looking curls. Simply wrap sections of hair around the wand, hold for a few seconds, and release. The wand's design allows for versatility in creating different curl sizes.
Q3: How do you get the perfect blowout with curly hair?
A3: Achieving a flawless blowout for curly hair involves using a diffuser attachment on your hair dryer. Apply a heat protectant, use a low heat setting, and scrunch your curls with the diffuser while drying. This technique enhances volume and maintains the natural shape of your curls.

Q4: Which is the best hair dryer for curly hair?
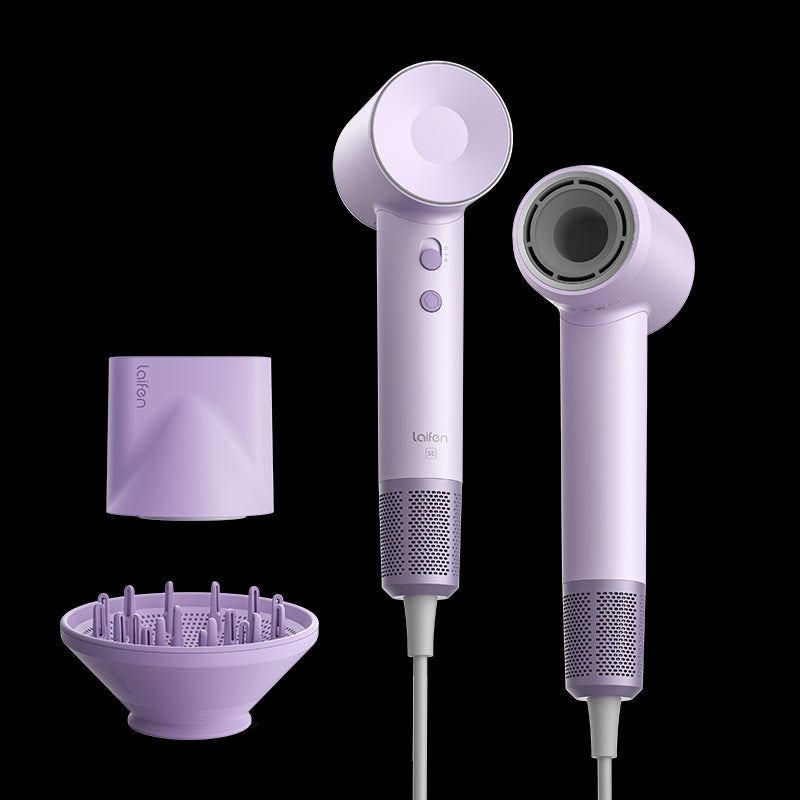
A4: Look for a hair dryer with a diffuser attachment, like the Laifen SE or the Laifen Swift Special, which both come with an included diffuser and other nozzles for different hair-styling needs. Laifen's Temperature Cycling Mode can ensure that your curls receive a powerful blowout and fight frizz, all while not overheating your hair.

Twist & shout
Embark on a transformative journey with our tutorials, igniting the confidence to craft exquisite curls in the comfort of your home. Unleash your inner stylist and bid adieu to routine salon visits. May these guides empower you to curate stunning hairstyles effortlessly. Wishing you the best as you create a storm of curls in your personal haven. Embrace the beauty that is uniquely yours. Happy curling!


