In this article
Repairing your hair dryer will be a breeze with these shared simple tips. Before considering recycling your hair dryer or replacing it with a new blowdryer, repairing it can save you time and money while minimizing waste.
Let organize it-Common broken parts include the heating element, power cord, or motor, often due to wear and tear from daily use. With a few basic tools and troubleshooting techniques, you can easily diagnose and fix issues like overheating, power failure, or strange noises. By repairing, you can extend the lifespan of your hair dryer and contribute to a more sustainable lifestyle. Let's move on.
4 easy guides on repairing your hairdryer
I will share with you 4 methods to resolve the problem you are encountering. Find the problem and simply follow the provided guide.
1. How to repair hair dryer motor
To repair a hair dryer motor, start by unplugging the device and disassembling it carefully. Inspect the motor for any signs of damage or wear, such as burnt-out coils or broken connections.
Depending on the issue, you may need to lubricate the motor bearings, replace worn-out brushes, or solder any loose connections. Reassemble the hair dryer and test the motor to ensure it's functioning properly before use.
2. How to fix a hair dryer that won't turn on
If your hair dryer fails to turn on, begin by checking the power cord and plug for any signs of damage or wear. Next inspect the thermal fuse, which may have blown due to overheating.
Replace the fuse if necessary. If the issue persists, disassemble the hair dryer to access the switch and wiring. Test the switch for continuity and replace it if faulty. Finally, reassemble the hair dryer and test it to ensure it powers on properly.
3. How to repair a hair dryer cord
To repair a damaged hair dryer cord, start by unplugging the device and carefully inspecting the cord for any cuts, frays, or exposed wires. If the damage is minor, you can repair it using electrical tape or heat-shrink tubing.
For more severe damage, such as broken wires or damaged connectors, you may need to replace the entire cord. Disassemble the hair dryer to access the cord connections, then solder the new cord in place and reassemble the device.
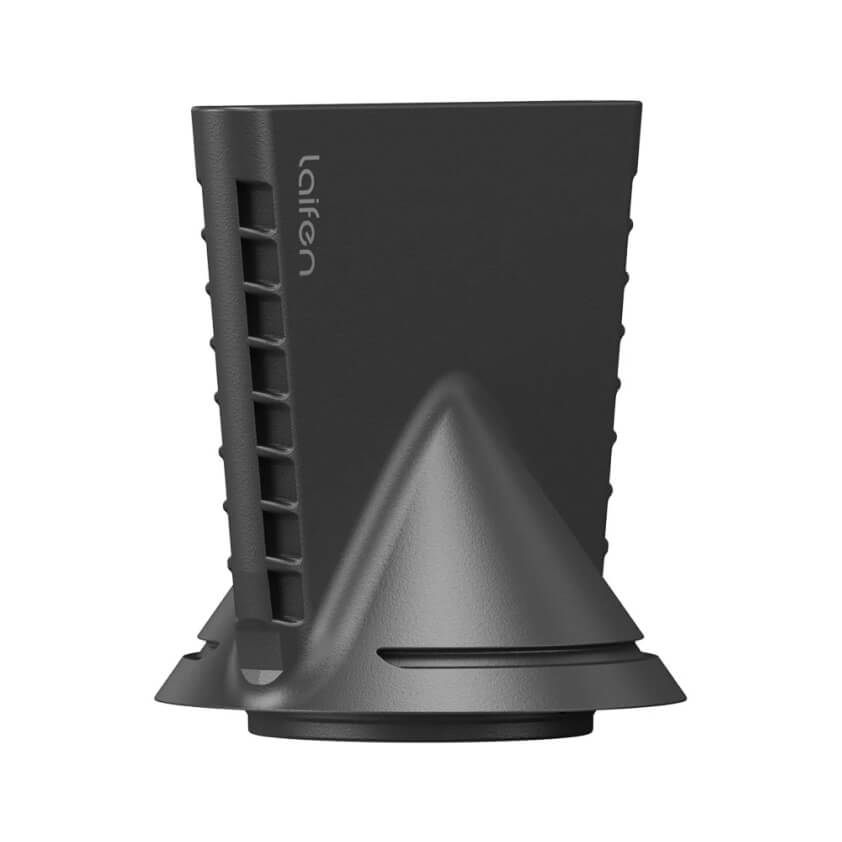
4. How to solve hair dryer attachments not work
If your hair dryer attachments are not working, start by checking the connections between the attachments and the dryer. You need to know and make sure that they are securely attached and not damaged.
If the attachments still don't work, inspect the electrical contacts inside the dryer and on the attachments for any signs of damage or corrosion.
Clean the contacts with a soft brush and contact cleaner if necessary. If the issue persists, you may need to replace the attachments or have the dryer serviced by a professional.
When you need to change your blow dryer
Knowing when to change your blow dryer is crucial for maintaining efficient hair styling and safety. Consider replacing your blow dryer under the following circumstances:
Older
If your blow dryer is approaching or has exceeded its expected lifespan of around 5-10 years, it may be time for a replacement. Older dryers are more prone to wear and tear, resulting in decreased performance and potential safety hazards.
Inefficiency
If your blow dryer takes longer than usual to dry your hair or produces weaker airflow, it may be losing efficiency. This inefficiency could indicate worn-out components, such as the motor or heating elements, that are no longer functioning optimally.
Visible fall apart
Cracks, frayed cords, or loose parts are signs of wear and tear that compromise the safety and functionality of your blow dryer. Visible damage should be addressed promptly to prevent electrical hazards or injury during use.
Safety problems
Any signs of overheating, burning smells, or electrical malfunctions should not be ignored. These safety concerns indicate potential fire hazards or electrical failures, necessitating immediate replacement to ensure the safety of yourself and your surroundings.
Desire for upgrades
If you're considering upgrading to a blow dryer with advanced features like faster drying times, temperature control, or additional attachments, it may be time for a replacement. Over time, new types of dryers, such as ceramic, ionic, and high-speed. In the next part, 5 mistakes you need to avoid when using the dryer at home.
5 common mistakes you might be making when using a hair dryer
Here are five common mistakes you might be making when using a hair dryer. You need to avoid to making them happen in order to prolong your hairdryer to make your scalp and hair healthy.
-
You need to let your hair feed the wind step by step. Using high heat settings excessively can damage your hair, leading to dryness, frizz, and breakage. Instead, opt for medium or low heat settings and adjust as needed to minimize heat damage.
-
Try treatments. Skipping a heat protectant spray or serum before blow drying can leave your hair vulnerable to heat damage.
-
Keep a distance. Holding the hair dryer too close to your hair can cause overheating and damage. Maintain a distance of at least 6-8 inches between the dryer nozzle and your hair is recommended.
-
Towel dry or air dryer first. Skipping the pre-drying step can prolong drying time and make styling more difficult. Towel-dry your hair or use a microfiber towel to remove excess moisture before using the hair dryer.
-
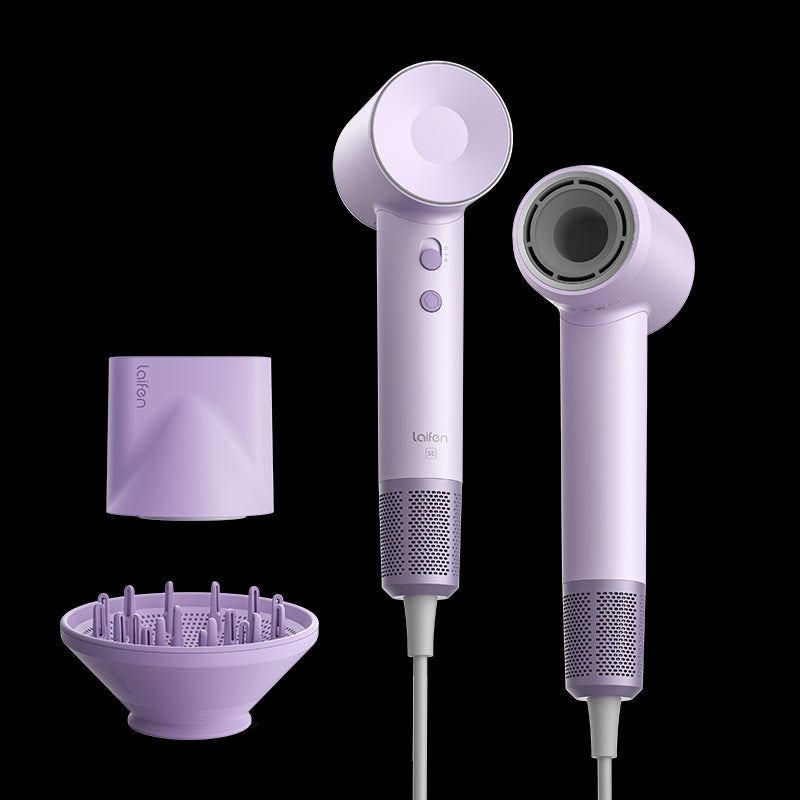
Learn to use accessories. Hair dryer attachments, such as diffusers and concentrators, are designed to enhance styling results. Using them incorrectly or not at all can lead to uneven drying and styling. Learn how to use each attachment properly and experiment with different techniques to achieve your desired look.
The bottom line
By learning these methods, you'll be able to repair your hair dryer. However, when essential parts like the motor malfunction, self-repair may not be possible. Seek customer service or consult a local electric appliance repair technician. In such cases, I suggest comparing repair and replacement costs.


