In this article
Hey, beauty aficionado! Picture this: your hair, your canvas, and the right hair dryer accessories are your artistic tools. They're not just accessories; they're your styling sidekicks, transforming ordinary moments into fabulous hair days. Whether it's those dreamy curls or the sleek, straight allure, nailing the look is all about having the perfect companions.
Dive into the world of must-have hair dryer attachments, from game-changing diffusers to volume-boosting round brushes. Oh, and we've got the inside scoop on the best hair dry gift sets and products, sure to make every beauty lover swoon. Your hair's future? It's looking seriously stunning, my friend!
4 necessary hair dryer attachments you will need at home
Elevate your hairstyling game at home with these essential hair dryer attachments. From enhancing natural curls to achieving a sleek finish, these tools are your keys to salon-worthy looks.
No.1 Diffuser
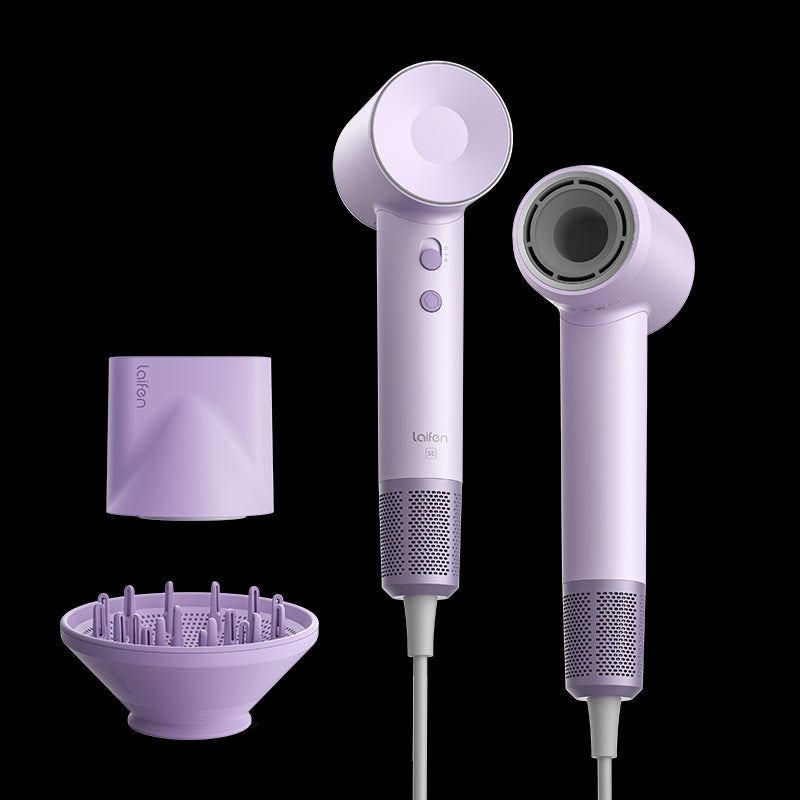
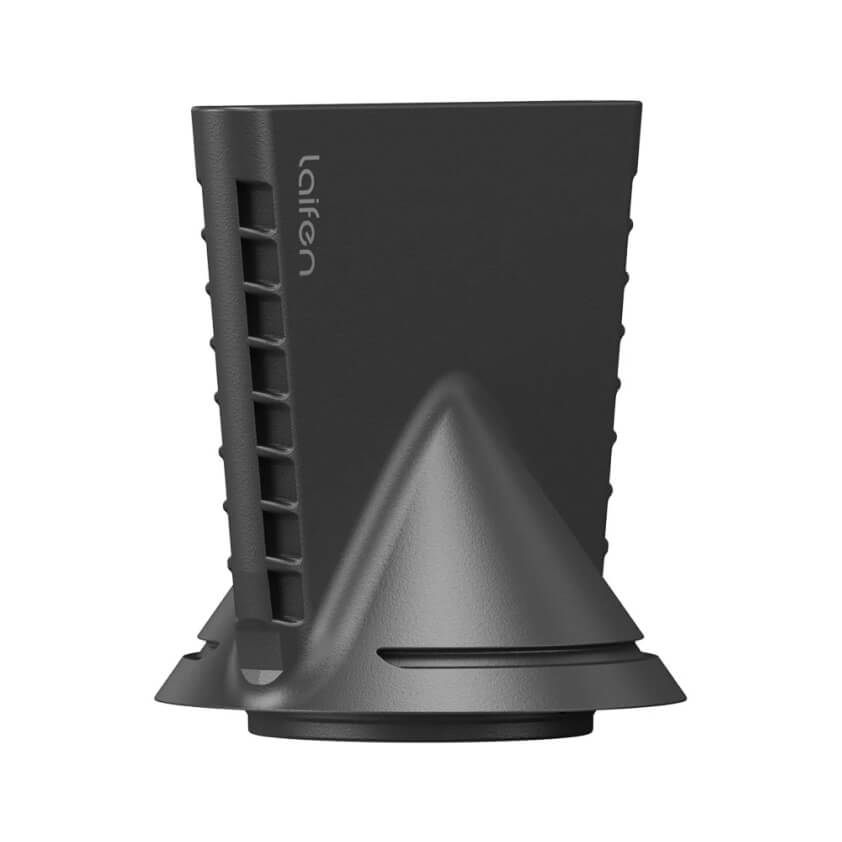
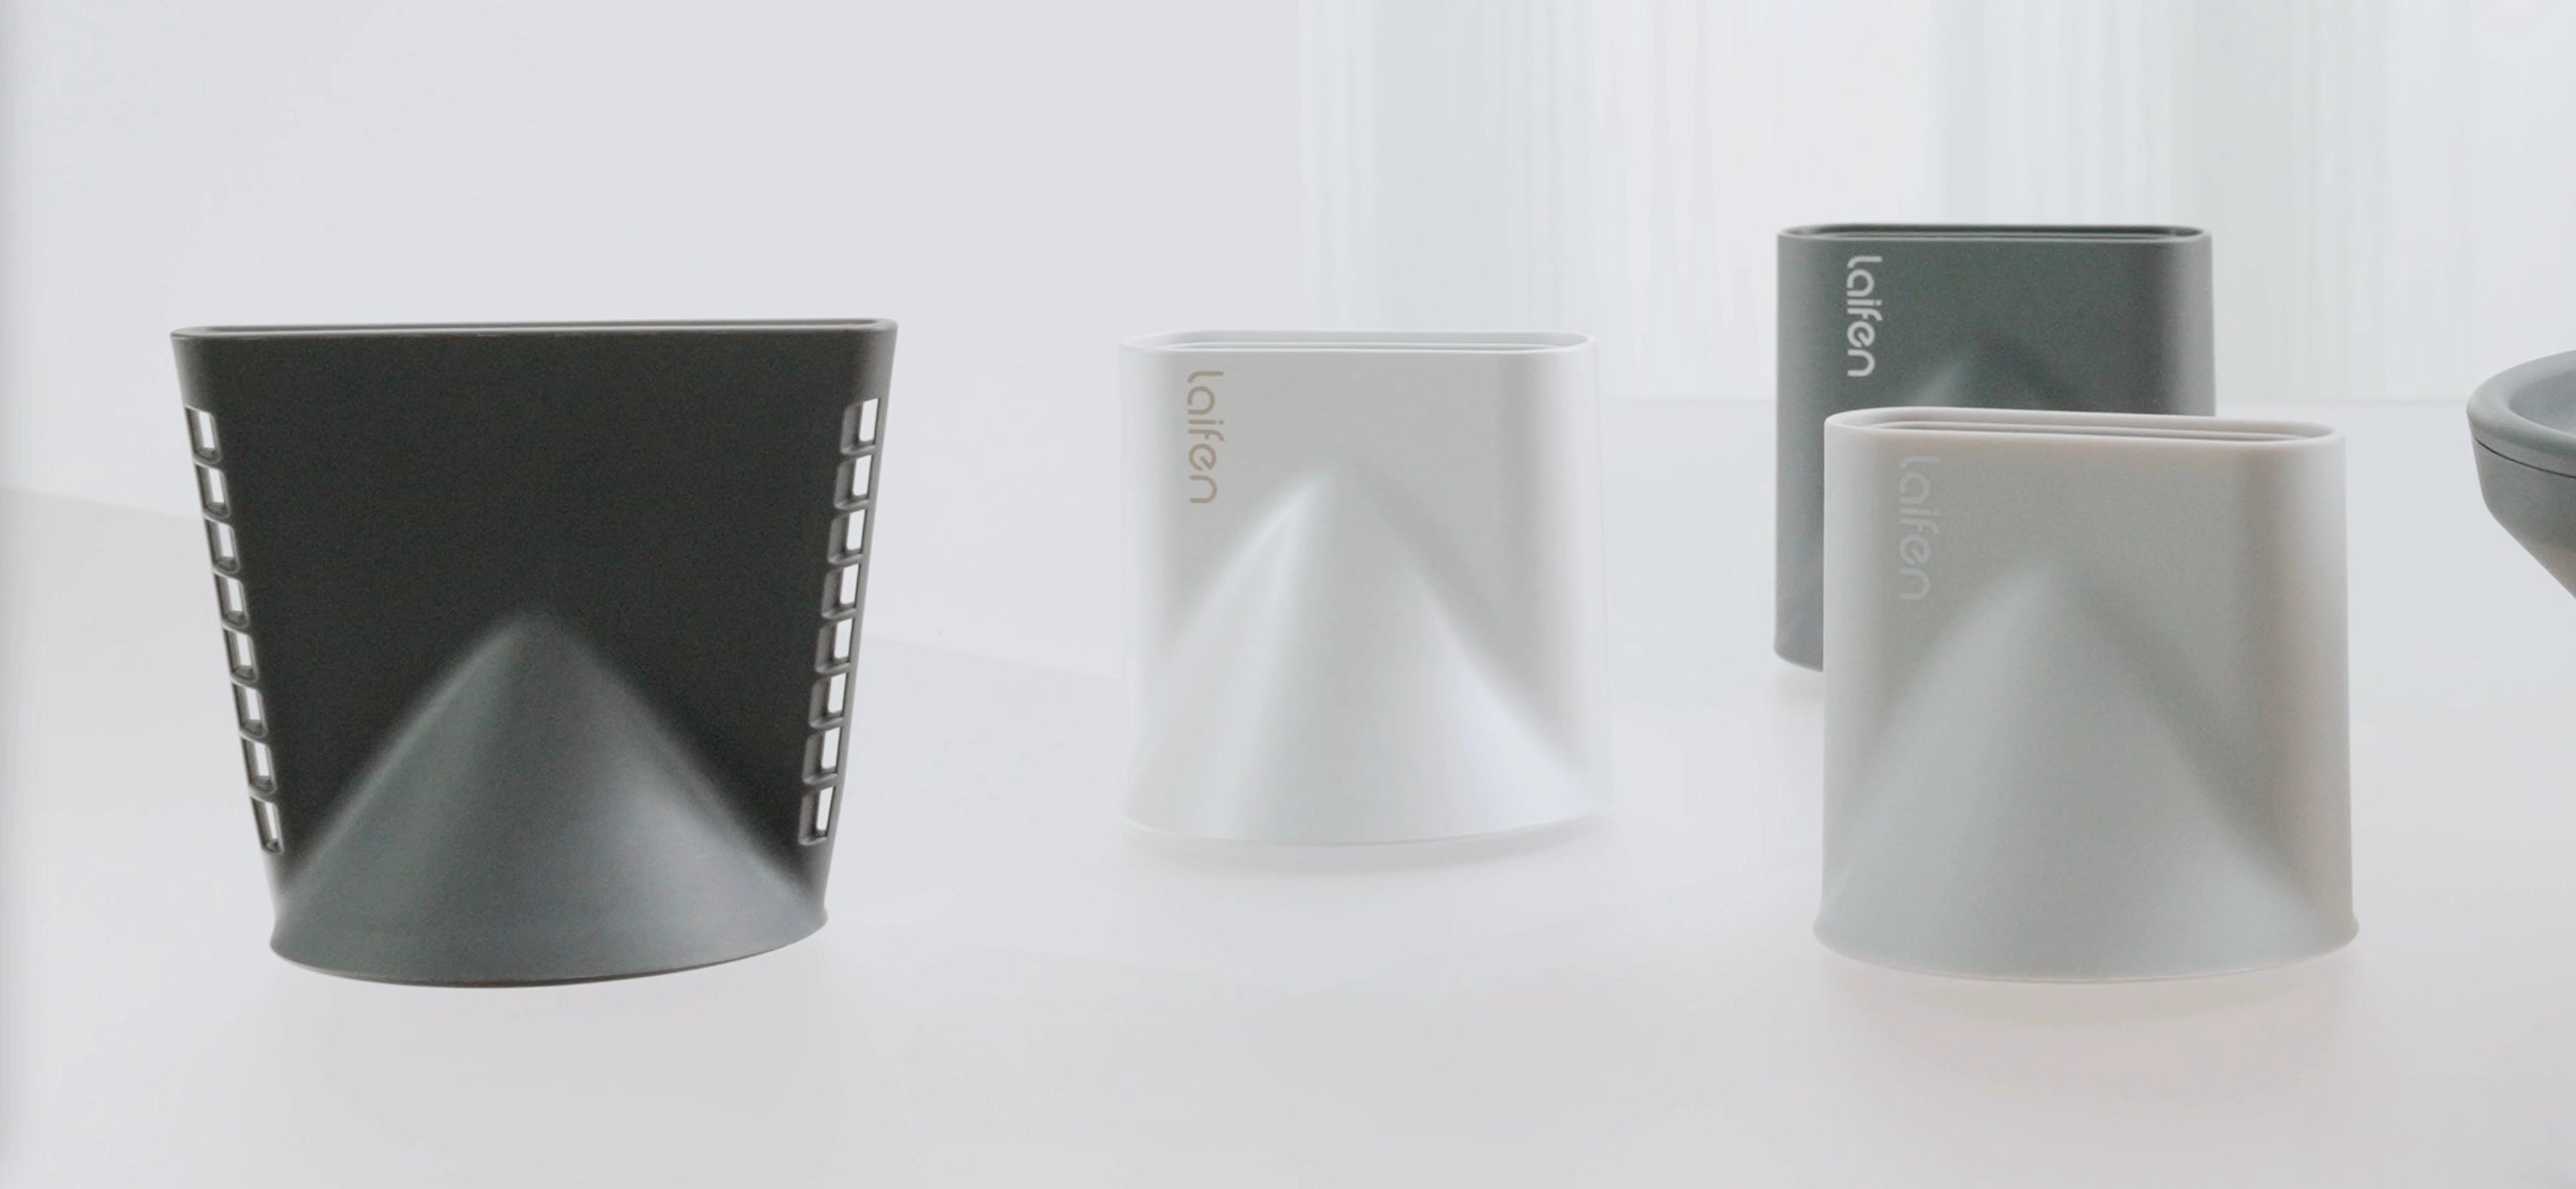
Living with naturally curly or wavy hair or a combination of both is a constant battle with tangles, knots, and frizz. A diffuser is a great tool for creating natural-looking waves or curls. It concentrates the airflow in one direction and helps you create a more defined look with less frizz.
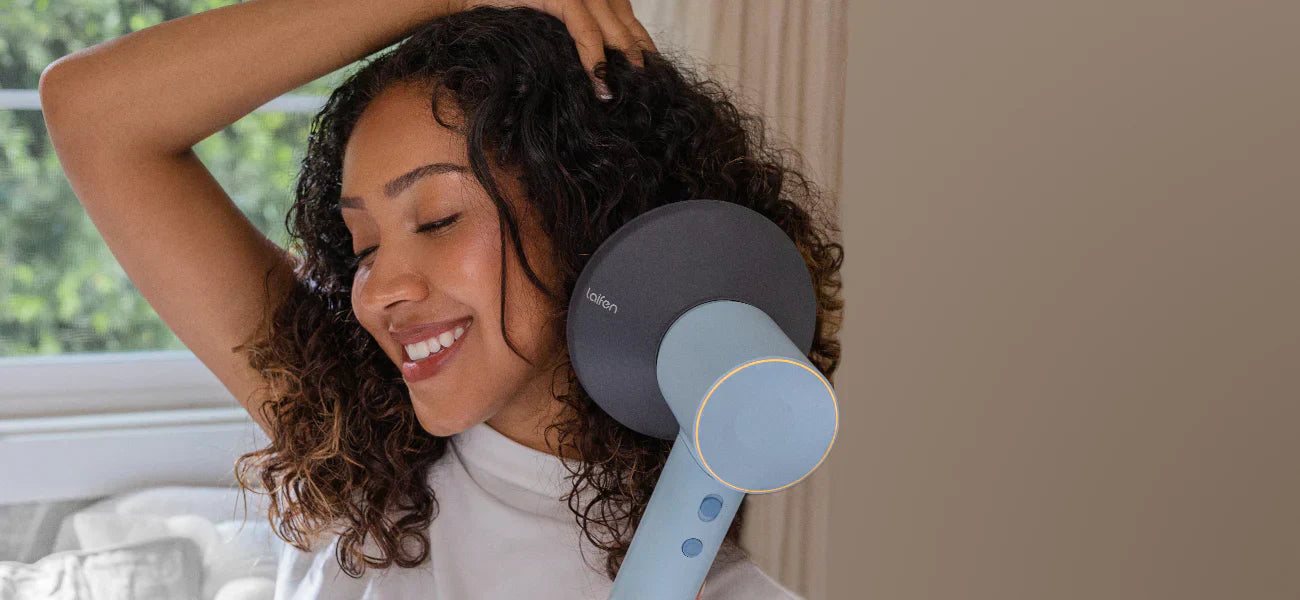
You may want to know the best hair dryer diffuser attachment to improve your blow-drying experience or style your hair - a smartly dispersed airflow adds volume and bounce to your hair while keeping that signature Laifen Swift shine.
Combining a quality diffuser with effective techniques allows you to create looks you'll love and feel confident in. Whether you're creating quality curls or accentuated waves, you'll have long-lasting results that'll earn you a dozen compliments.

How do you use the diffuser on a hair dryer?
Ever tried using a diffuser on your hair dryer? Let's make those curls pop! Attach, apply product, section, set to low, and diffuse for natural, gorgeous curls!
Step 1. Attach the diffuser: Connect diffuser to hair dryer nozzle. Secure attachment for effective styling.
Step 2. Apply styling product: Distribute product evenly through damp hair. Enhances curl definition and texture.
Step 3. Section your hair: Divide hair into manageable sections. Ensures even and controlled styling.
Step 4. Set Dryer to low/medium: Adjust heat and airflow settings. Prevents excessive heat damage.
Step 5. Begin diffusing: Start drying with a gentle motion. Encourages natural curls to form.
No.2 Round brushes
While the convenience of air-drying your hair with your hands is undeniable, the transformative power of a brush should not be overlooked. Among the must-have hair dryer accessories, round brushes emerge as indispensable tools for elevating your styling routine. These brushes go beyond mere detangling; they are architects of volume and frizz control.
As you wield a round brush during your blow-drying ritual, witness the magic unfold. It expertly lifts your hair at the roots, instilling it with enviable volume and bounce. Simultaneously, the bristles work to tame unruly frizz, leaving behind a sleek and polished finish.
Whether you're crafting elegant waves or seeking a straight, sophisticated look, the round brush becomes your silent ally, shaping your hair with precision and imbuing each strand with a touch of salon-worthy allure. Embrace the synergy of airflow and bristle finesse as you unlock the full potential of your favorite hairstyles with this simple yet transformative accessory.

How do you use a round hair dryer brush?
Curious about using a round hair dryer brush to make your hair healthy and wealthy? Let's make styling a breeze – attach the brush, prep with protectant, section hair, set heat, and style away for fabulous results!
Step 1. Attach the round brush: Secure brush to hair dryer. Ensures stability during styling process.
Step 2. Prep hair with heat protectant: Apply heat protectant for safeguarding. Minimizes heat-induced damage risks.
Step 3. Section your hair: Divide into manageable sections for precision. Promotes even and controlled styling.
Step 4. Set dryer to desired heat: Adjust temperature settings accordingly. Allows customization for diverse styles.
Step 5. Start styling: Begin brushing while drying. Shapes and polishes hair simultaneously.
No.3 Heat protectant
Subjecting your hair to the intense heat of a blow dryer can leave it vulnerable to damage and frizz, particularly without proper preparation. Before embarking on your styling journey, consider the essential step of applying a heat-protectant serum or spray.
This preemptive measure forms a protective shield, mitigating the adverse effects of extreme heat on your delicate strands. A quality heat protectant not only acts as a barrier, minimizing the risk of heat damage, but it also doubles as a styling ally by imparting a radiant shine to your locks.
By incorporating this crucial step into your routine, you not only safeguard the health of your hair but also enhance its overall appearance. Embrace the dual benefits of fortification and luminosity as you confidently wield your hair dryer, knowing that your tresses are shielded and primed for a flawless, frizz-free finish.

How should you apply heat protectant?
Wondering how to give your hair some love before styling? Let's talk applying heat protectant – easy steps, essential protection, and keeping those locks looking fab. Ready for a mini hair care chat?
Step 1. Section your hair: Divide into manageable sections. Ensures even product distribution.
Step 2. Spray or apply: Choose spray or lotion form. Select based on personal preference.
Step 3. Hold at a distance: Maintain a distance of 6-8 inches. Allows for even application.
Step 4. Cover all strands: Ensure full coverage on hair. Every strand is shielded.
Step 5. Comb through: Use a comb to distribute. Guarantees even protection layer.
No.4 Comb
Hair dryer attachments help smooth frizz cuticles, accentuate natural texture, and lock in your favorite hairstyles. The right hair dryer can also make a huge difference when styling your hair.
After reading this article, have you decided which hair dryer attachments you want? You can leave a comment below about your experience using a hair dryer with attachments and share your unique blow-drying moments. At Laifen, we offer incredible hair dryers that provide a quiet, quick solution for achieving everyday hairstyles.
Frequently asked questions
We've got the lowdown on those hair dryer attachments. From nozzles to diffusers, we're spilling the tea on everything you've been curious about. Let's dig in and make your hair game strong!
Q1: What is the nozzle attachment on a hair dryer?
The nozzle attachment on a hair dryer is a concentrator that directs airflow for precise styling. It helps focus the heat, making it ideal for straightening and smoothing hair.
Q2: Can diffuser attachments fit all hair dryers?
Diffuser attachments may not fit all hair dryers, as sizes and designs vary. It's essential to check compatibility with your specific hair dryer model.
Q4: How do you use a hair dryer attachment for curly hair?
To use a hair dryer attachment for curly hair, attach a diffuser. Gently cup sections of hair in the diffuser and use low heat to enhance curls without causing frizz.
Q3: Can a hair dryer be used to straighten hair?
Yes, a hair dryer can be used to straighten hair. Attach a concentrator nozzle, use a round brush, and aim the airflow downward for a sleek finish.
Q5: Are diffusers good for wavy hair?
Diffusers are excellent for wavy hair. They disperse airflow, preventing frizz and enhancing natural waves, providing a more defined and voluminous look.


